Configure Wifi hotspot on Android 9. Wi-Fi password, Mac filter (allowed devices).
To configure Wifi hotspot on Android you have to use Mobile Data as the primary internet source. The Wi-Fi in your device will act as an access point.
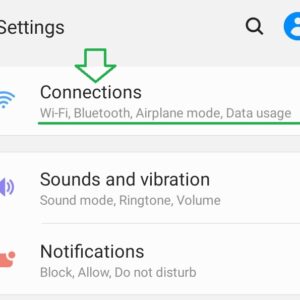
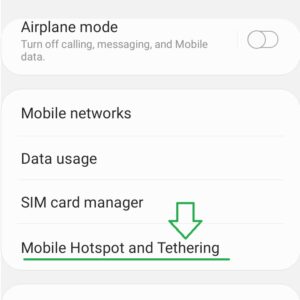
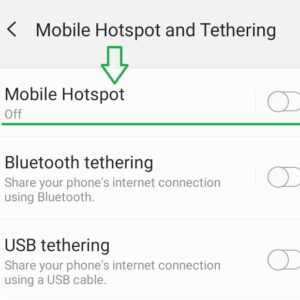
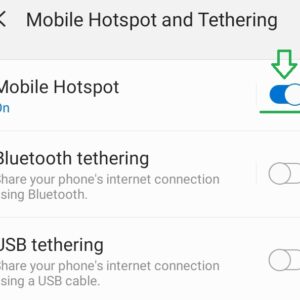
To turn on Wifi hotspot on Android 9 follow these steps:
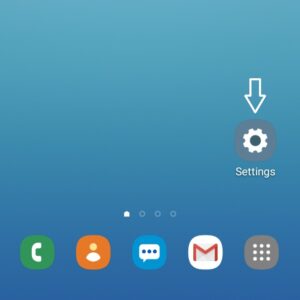
- Open Setting menu in your Android device.
- Tap “Connections”.
- Swipe to “Mobile Hotspot and Tethering”.
- Tap on “Mobile Hotspot”.
- Switch to “On”.
To configure SSID (wireless access point name) and password follow these steps:
- Repeat steps 1, 2, 3, 4 from the above.
- Under “Mobile Hotspot and Tethering” tap “Mobile Hotspot”.
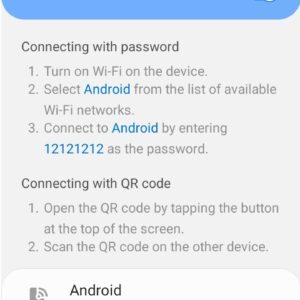
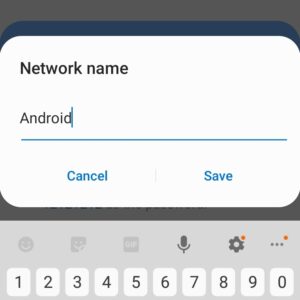
- Tap on network name (in my photo example “Android”).
- Change name then tap “Save”.
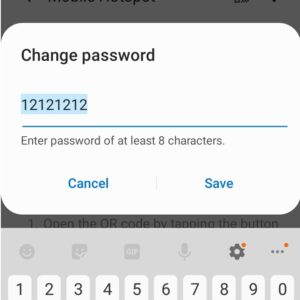
- Tap on password (in my photo example “12121212”).
- Change password (at least 8 characters, letters and numbers), then “Save”.
Mac filter, allow / disallow devices to connect to your Wireless AP (Android Hotspot) follow these steps:
- Again, repeat steps 1, 2, 3, 4 from the above.
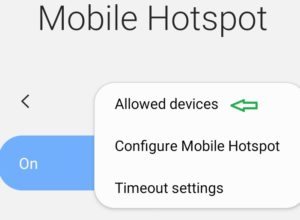
- Tap menu (three dots) then go to “Allowed devices”.
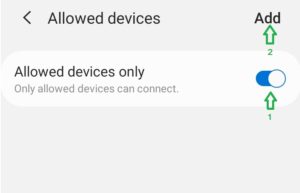
- Tap “Allowed devices only” to enable Mac address filter.
- Tap “Add”.
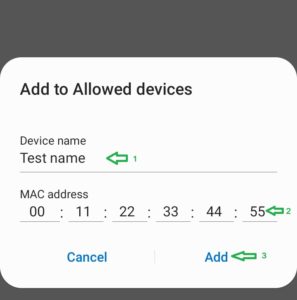
- Enter Device name, Mac address of your client, then tap “Add”
